Don't Let a Frozen Spigot Ruin Your Spring:
- Lamont Plumbing & Heating
- Apr 16
- 3 min read

| A homeowner's guide to outdoor faucet care, winterizing, and spring startup.
|
Outdoor spigot issues are one of the most common seasonal plumbing calls we get.
Every year, as temperatures start to dip, outdoor spigots become a common source of expensive and preventable plumbing problems. A frozen faucet can crack the spigot body, split the supply line behind the wall, or damage the indoor shutoff valve - and many homeowners do not realize there is a problem until they turn it back on in the spring. |
Why Outdoor Spigots Are So Vulnerable
Unlike pipes inside your home, outdoor faucets are directly exposed to freezing temperatures. When water freezes, it expands - and that expansion can crack the faucet body, split the supply pipe behind the wall, or damage the shutoff valve inside your home.
By the time you discover the issue, you may already be dealing with leakage inside the wall, water damage, or a spigot that no longer works the way it should. The fix is simple. The damage from skipping it is not.
Fall Checklist: How to Winterize Your Outdoor Spigots
1. Disconnect and drain all garden hoses. A hose left connected traps water at the faucet, prevents proper draining, and dramatically increases the chance of a freeze.
2. Locate your indoor shutoff valve. Most outdoor faucets have a dedicated shutoff somewhere inside the home, often in a basement, crawlspace, or utility area near where the pipe exits the house.
3. Turn off the indoor shutoff valve. Do this even if you have a frost-free spigot. It is an extra layer of protection and takes only a minute.
4. Open the outdoor faucet to drain remaining water. After shutting off the indoor valve, open the exterior faucet fully to let trapped water drain out.
5. Consider an insulated faucet cover. Foam covers are inexpensive and can help buffer against extreme cold snaps.
Note on frost-free spigots: Even modern anti-siphon or frost-free spigots can freeze if a hose is left attached. They are more resistant - not foolproof. |
Spring Startup: Turning Your Outdoor Water Back On
When warmer weather arrives, do not just flip the indoor valve back on and walk away. A careful startup helps you catch leaks early and prevents a small issue from turning into a bigger repair.
1. Make sure the outdoor faucet is closed first. Before turning the indoor valve on, confirm the outside handle is fully off.
2. Slowly open the indoor shutoff valve. A gradual turn helps prevent water hammer and gives you a chance to listen for anything unusual.
3. Check for leaks at the shutoff valve. Look for drips or moisture around the valve and nearby piping inside the home.
4. Go outside and test the spigot. Let water run for 30 seconds and look for leaks at the handle, the wall penetration, or the faucet body.
5. Reconnect your hose only after everything checks out. If the flow is normal and there are no leaks, you are good to go for the season.
Signs Something Went Wrong Over the Winter
Even with good preparation, things can still happen. Watch for these warning signs when you turn your outdoor water back on:
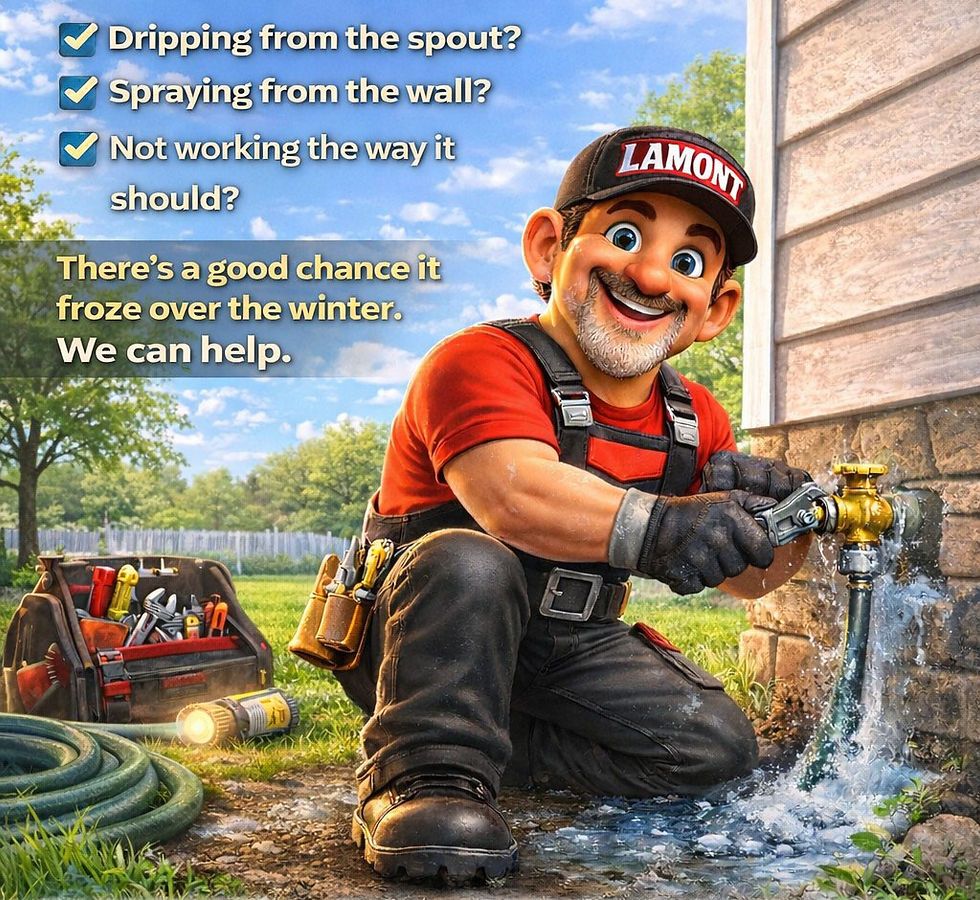
• No water coming out when the shutoff is on
• Water dripping or spraying from behind the faucet handle or from the wall
• Wet spots on basement walls or ceilings near the spigot location
• An indoor shutoff valve that leaks or will not fully stop the water
• A hissing or running-water sound inside the wall when the faucet is closed
Need help with a frozen or damaged outdoor spigot? Give Lamont Plumbing & Heating a call. We can replace the spigot and repair or replace the interior shutoff valve if needed. |
The best plumbing call is the one you do not have to make because you winterized properly in the fall. Save this post, share it with a neighbor, and set a reminder on your phone for October - your outdoor spigots will thank you.